
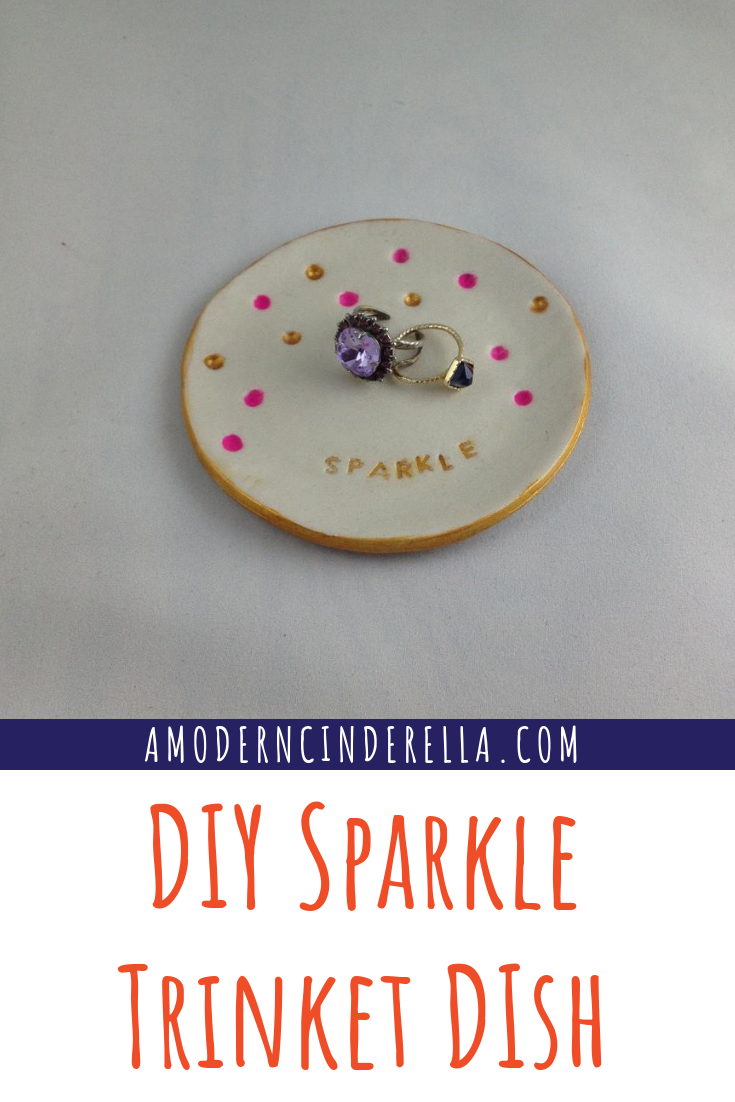
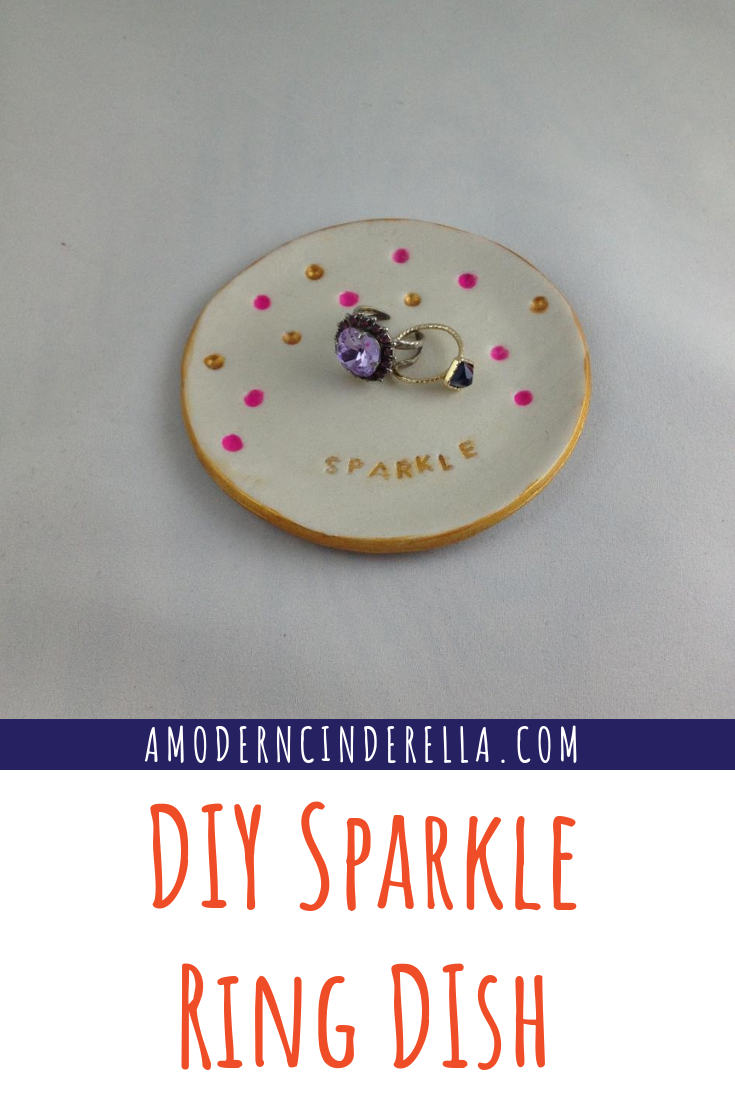
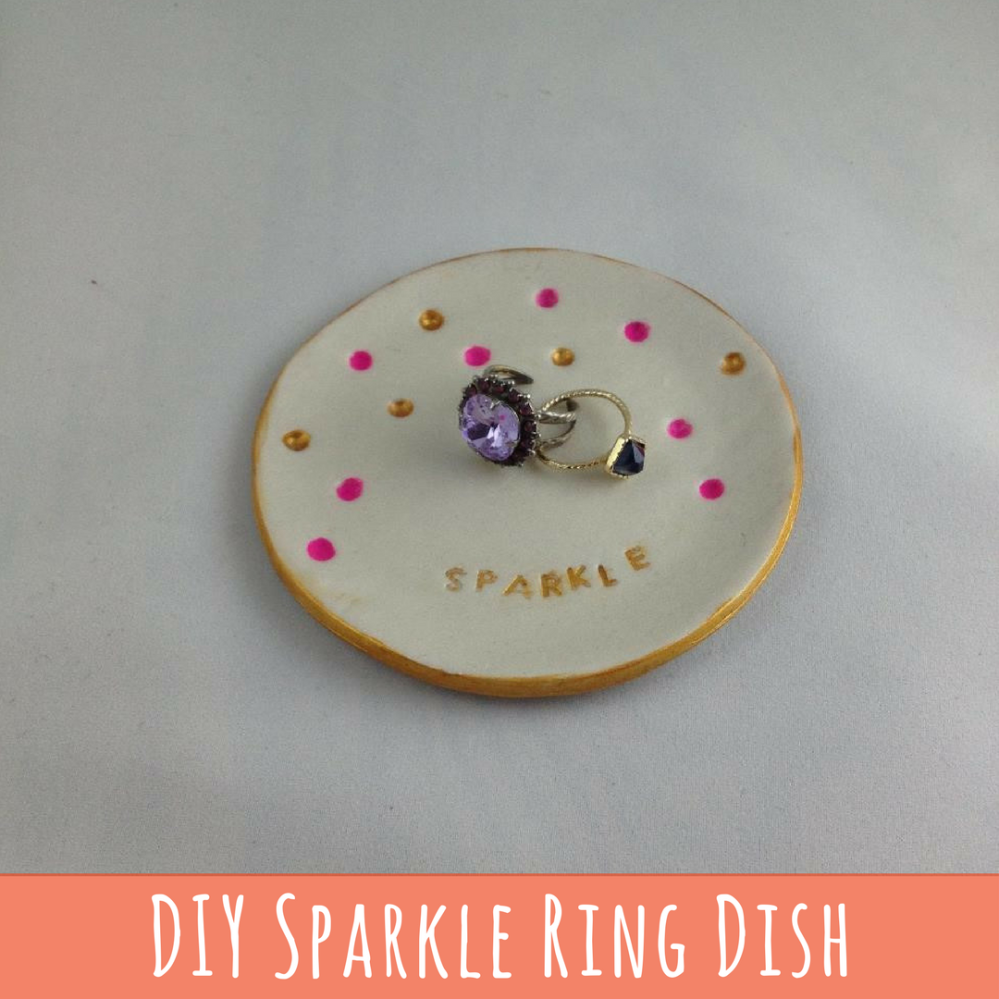
 I love giving homemade Christmas gifts – they are unique, personalized and fairly inexpensive. With a roster of ladies I like to treat with a little gift, an adorable ring dish was a no brainer for a gift! These DIY Sparkle Ring Dishes are inexpensive, fun to make and easily customized!
MATERIALS
- Sculpty or Other Bake-able Clay
- Rolling Pin
- Small, Plastic Food Container
- Ceramic or Paper Bowl
- Baking Sheet
- Parchment Paper
- Acrylic Paint (I used Pink, Green, Orange & Metallic Gold)
- Paint Brushes
- Stamps
- Toothpicks
- Craft Glue
- Fine Grit Sandpaper

I chose to use Sculpty for this project because it had the most variety in color and the largest (and most economical) package sizes. I made a few of the dishes using plain white, and when I went to purchase more Sculpty, I realized they had an iridescent white. This was a far better option, and made the entire ring dish sparkle!
There are clay sculpting kits you can purchase at any local craft store, but I was not planning on doing any more clay projects, and didn’t want to invest the money. Instead, I found a kids’ rolling pin at the dollar store, and used objects I already had to work with the clay. My results would have been nicer with the official tools, but I’m still pretty happy with the way the ring dishes turned out.
First, take a palm-sized ball of clay and roll it around in your hands. Make sure your hands are really clean! I found it easier to work with the clay when it was warm, so this step was necessary.
Roughly flatten the ball into about 1/4 inch thickness, and then use your rolling pin to even the clay out. I used my cutting mat wrapped with parchment paper as my work space. Use a circle-shaped plastic storage dish to cut the clay into your desired shape. Using plastic allowed me to cut the shape and then squeeze the sides of the dish to release the cut circle.
Next, use your stamps to stamp “Sparkle” onto the clay. If you don’t have stamps, you could also use a toothpick or knife to cut the letters. Be sure not to push the stamps too hard into the clay, or you will get the square corners as well as the letter. I used the end of a paintbrush to make the dots.
To make a lip on the dish, I gently laid the circle on top of an upside-down bowl. In my case, the bowl that worked the best was a disposable paper bowl. Don’t push too hard, or you will either squish the letters and dots you’ve already created, or pick up more imprints of the bowl than you want. I gently pushed down the outer lip, and used a toothpick to smooth the cut side.
Put the ring dishes on a baking sheet lined with parchment paper and bake according to the clay package directions. In my case, this was 275 degrees for 30 minutes.
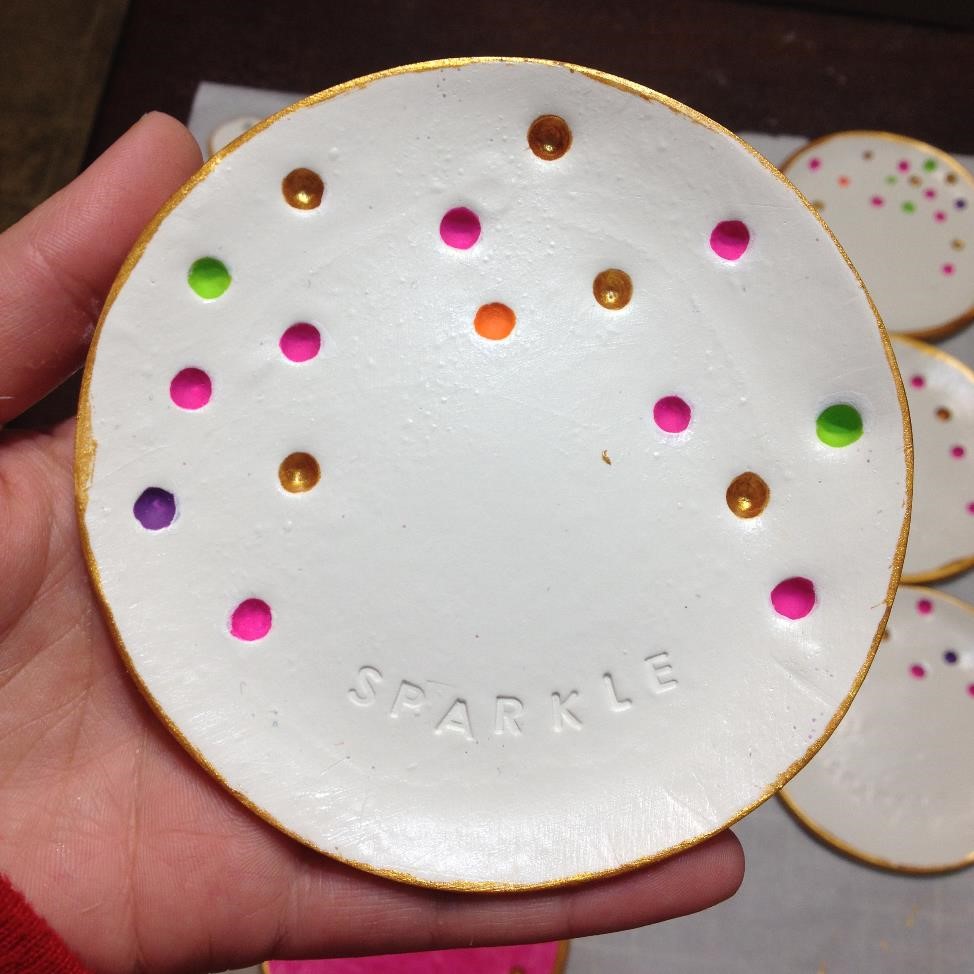
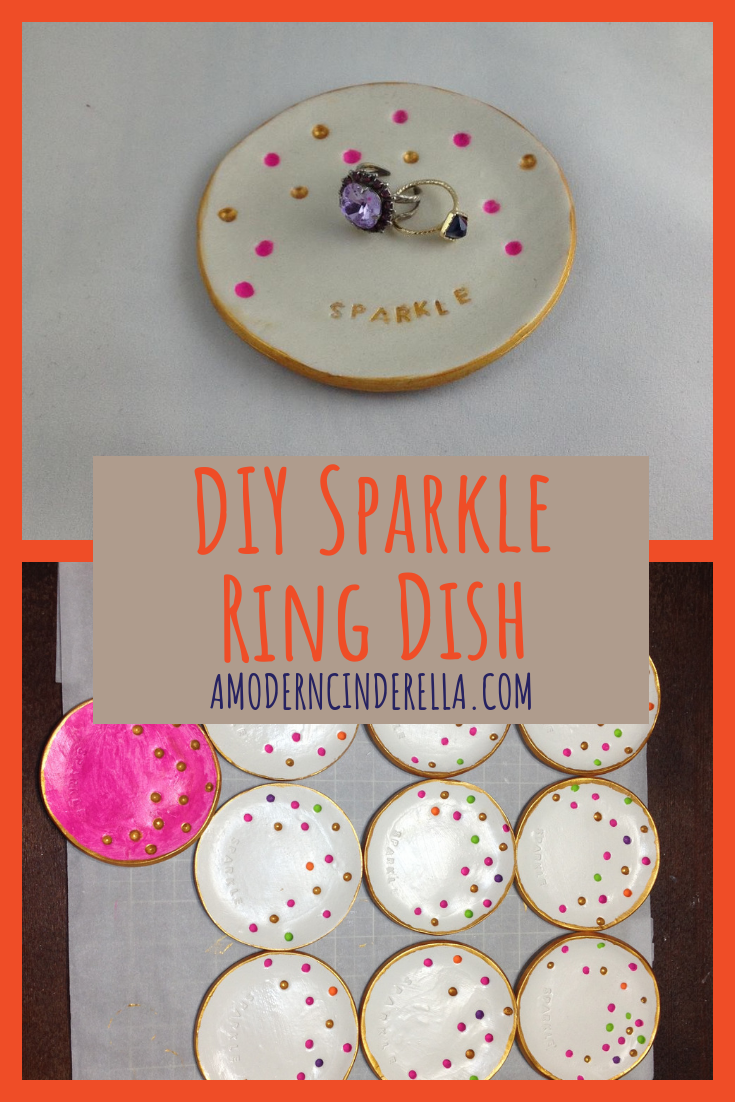
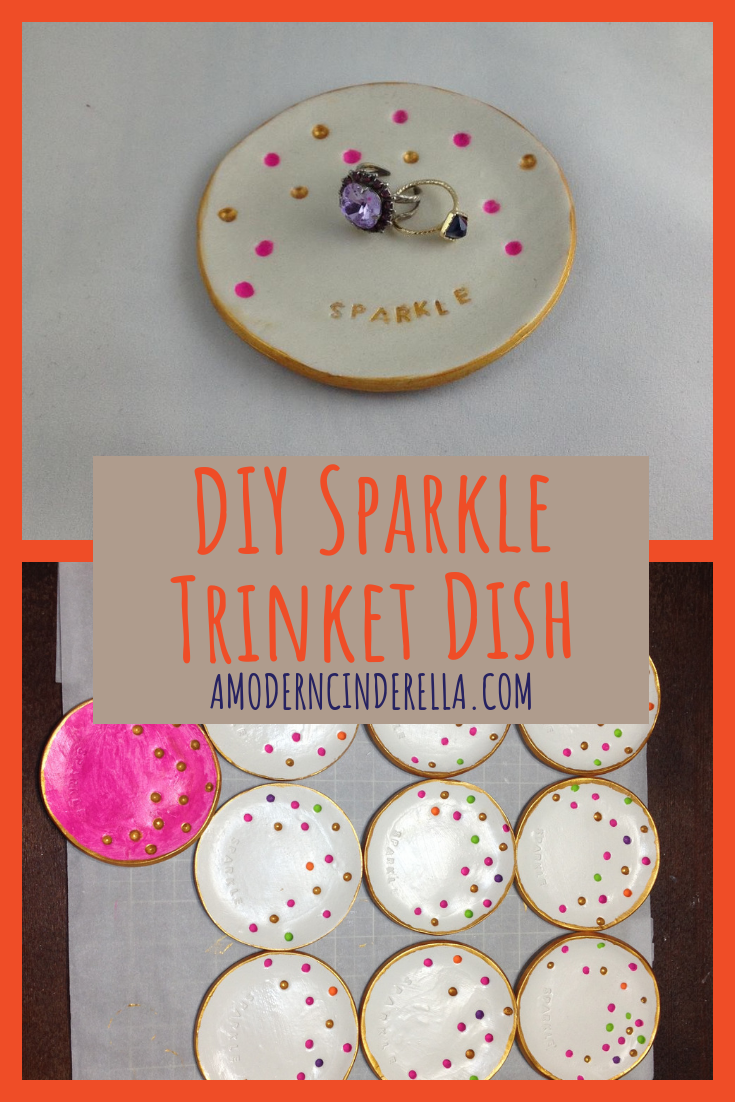
Once the ring dishes have cooled, use the sandpaper to clean up any rough edges. Fill in the dots with paint and rim the outside with metallic gold. Finish with a layer of craft glue and your DIY Sparkle Ring Dishes are complete!
I did try painting one dish completely. I didn’t love the result.
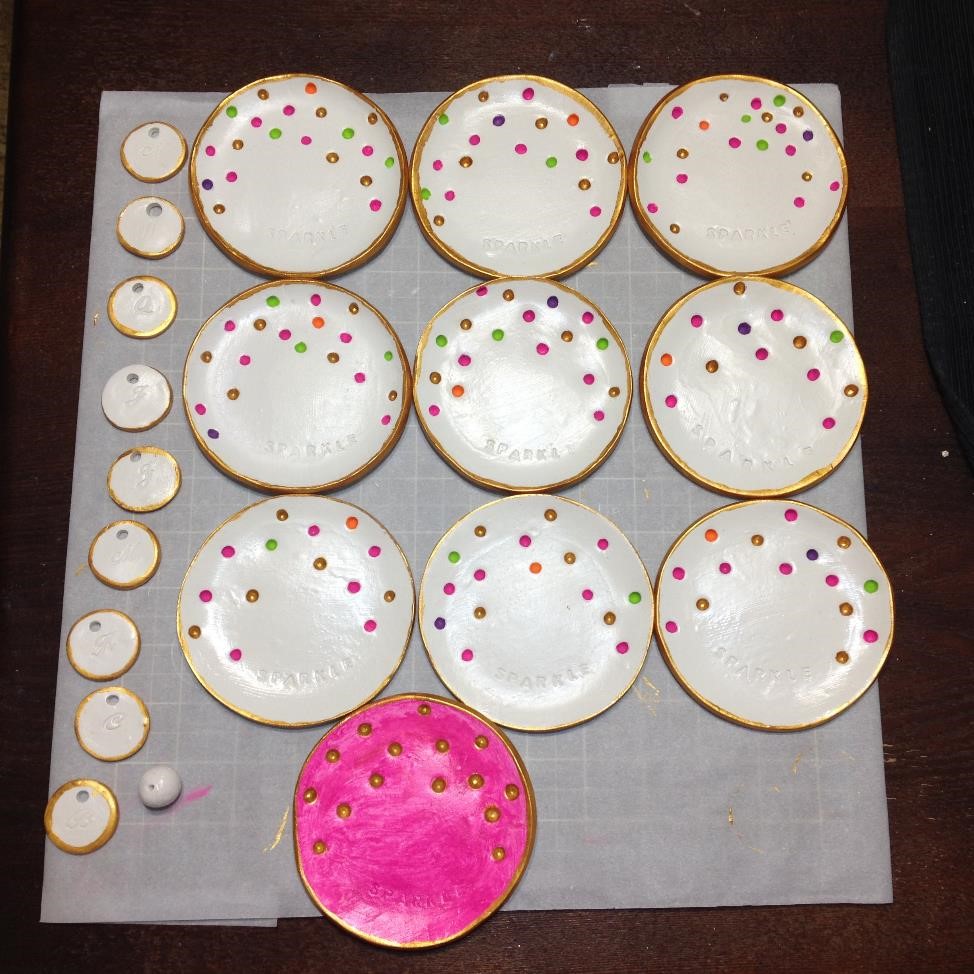
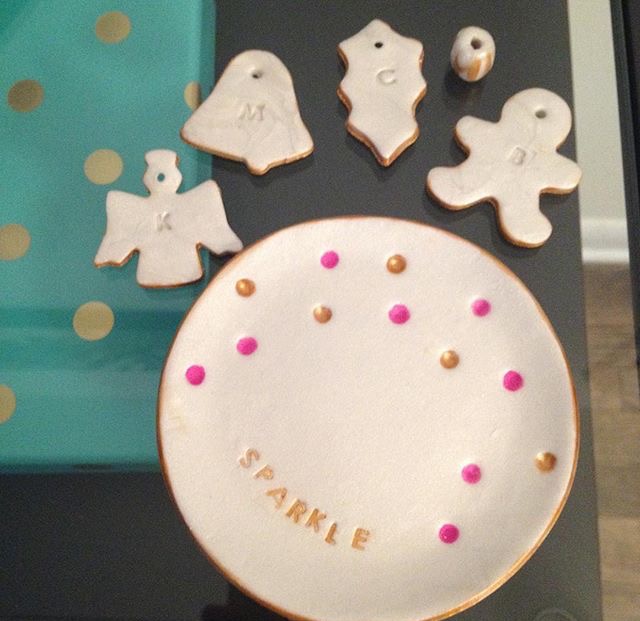
I cut leftover clay with small cookie cutters, poked a hole through them, stamped them with a letter and used them for gift tags. The recipients loved them, and many used them as Christmas ornaments once they removed them from their package.
The only materials I purchased for this project was the Sculpty and rolling pin, so it was super cheap. I think the results turned out great!

Awe! What a fun idea! Super into DIY things. Keep producing these projects girl! 🙂
LikeLike
Thanks Logan! 🙂
LikeLike